Let’s face it. Writing essays isn’t always easy, especially when you’re short on time or struggling to organize your thoughts. That’s where Oreate AI essay writer steps in. It helps you turn rough ideas into clear, structured essays in minutes. In this post, we’ll walk you through exactly how to use it step by step.
Step 1: Get Started
AI has greatly impacted paper writing and can create unique ideas and content for those who find it too time-consuming or difficult to write on their own.
If you are also stuck in choosing the right tool and want to end up with the one that requires minimum effort yet extremely high-quality results, you have landed in the right place.
Oreate AI Essay Writer specializes in creating long-form content and high-quality essays, which are often a big headache for busy professionals, researchers, and students. Utilizing this tool will act as a smart strategy that will simplify your tasks by turning your input into a well-structured, professional essay.
To start your first essay, you can:
- Open your web browser and go to Oreate AI essay writer.
- Register using your email or Google.
A straightforward interface helps you to easily start your first writing project right away.
Step 2: Upload a Document or Input Commands
Oreate AI starts writing primarily in two ways. You can either start from a prompt or upload a document.
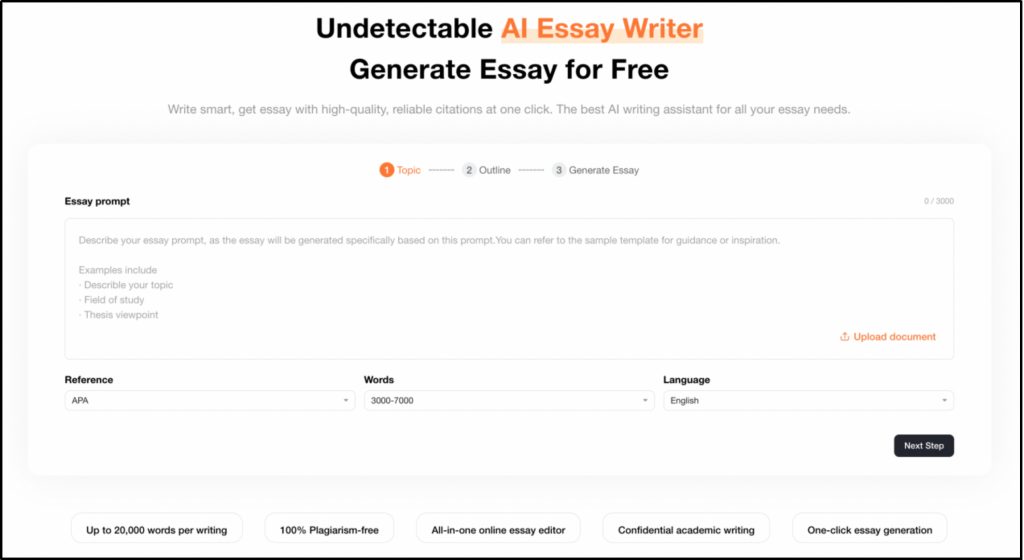
(1) Start from a Prompt
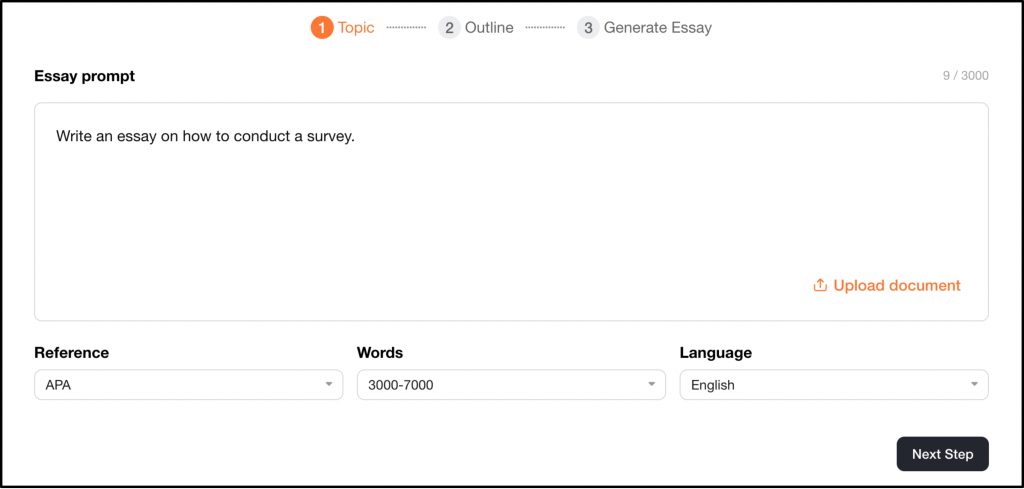
- Enter your topic or prompt into the designated area. You can describe your topic, field of study, thesis viewpoint, and more.
(2) Upload a Document
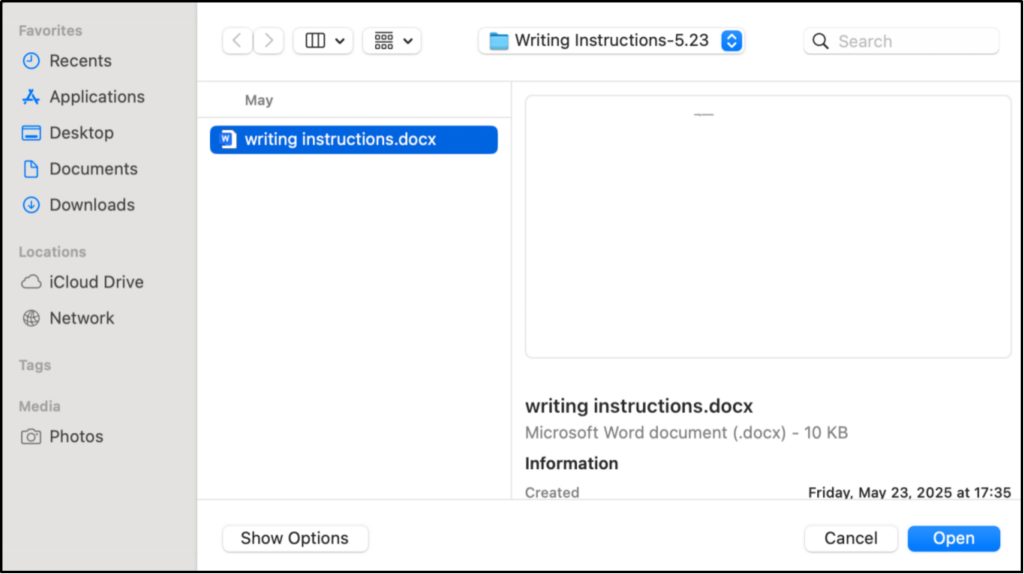
- Select Upload Document written in orange from the screen.
- A file picker will appear. You can locate your document. Up to 5 files are supported, in Word or PDF format, with a maximum size of 5MB per file.
- Select it, and click Open to upload it as a reference.
Whether you are working from scratch or rewriting a piece, Oreate AI makes it quick and simple. If you already have some sort of given instructions, you can simply upload the instruction document, and Oreate AI will generate the essay accordingly.
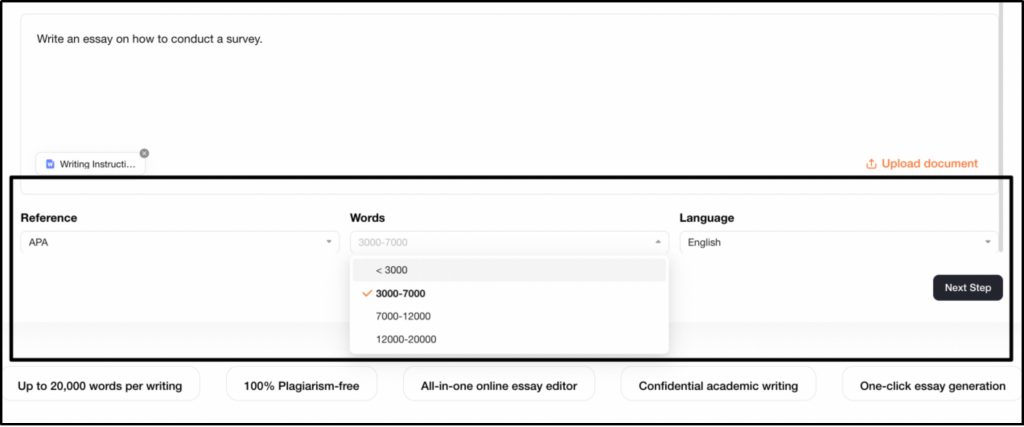
Step 3: Choose Word Count or Language Support
Before writing an essay, you can define its language and length:
- Choose the proper word count, with the utmost reaching 20,000, depending on your task or blog necessity.
- Three languages are available currently, including English, Arabic, and Spanish.
- Choose the APA reference style for essays as well.
- Click Next Step that will move you to the next step of outline generation.
This ensures the AI produces material according to your exact needs.
Step 4: Produce Outline, Edit, or Regenerate
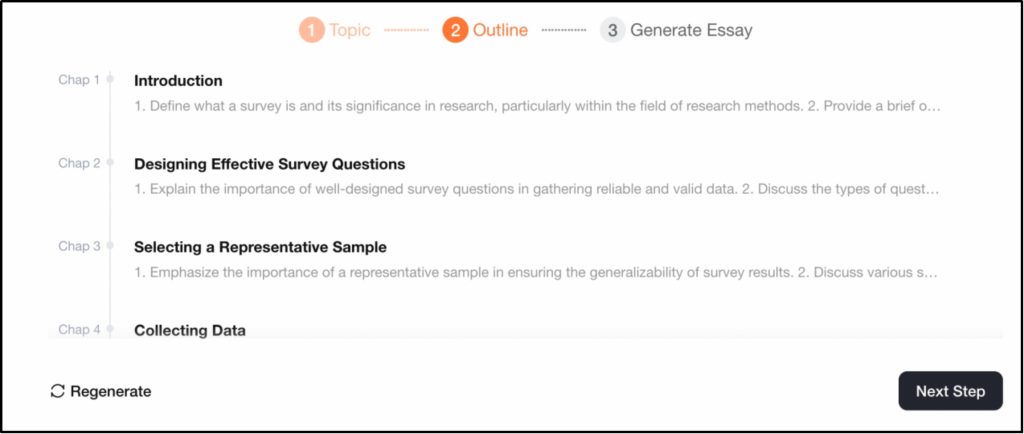
Oreate AI Essay Writer will generate an outline according to your prompt or document instructions. The tool produces sections with an Introduction, Main Arguments, Supporting Arguments, and Conclusion. If you are not pleased, you can:
- Click Regenerate to receive an automated fresh outline.
- Change headings, reorganize parts, or introduce fresh ideas.
- Click Next Step when you are happy with the outline.
Step 5: Generate Long-Form Essay Content
Once the outline is finished, Oreate AI essay writer generates the body according to the given outline created by the artificial intelligence automatically. Content is synchronically stored in real-time.
Once the essay is generated, you can:
- Click See Full Essay to read the complete text,
- or click New Essay to start over.

The New Essay option at the bottom with a plus sign will help you start fresh at any point.
- Clicking New Essay takes you to the editor.
- From here, you can (1) upload an existing document to continue editing it, (2) generate a brand new essay with one click, or (3) build an outline first and work from there.
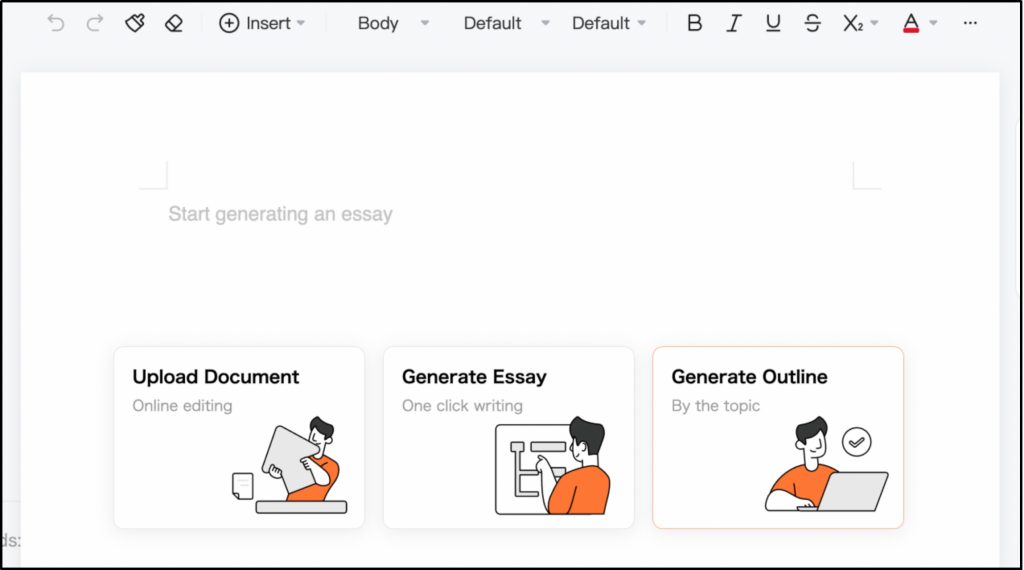
It gives you full flexibility over how you want to write.
Step 6: Review Your Generated Essay
If you want to preview the essay you just created, click See Full Essay to open it in the built-in editor. And you will see a comprehensive, professionally formatted essay with:
- title
- abstract
- Introduction
- fully written chapters with original, plagiarism-free content
- in-text citations
- reference list at the bottom
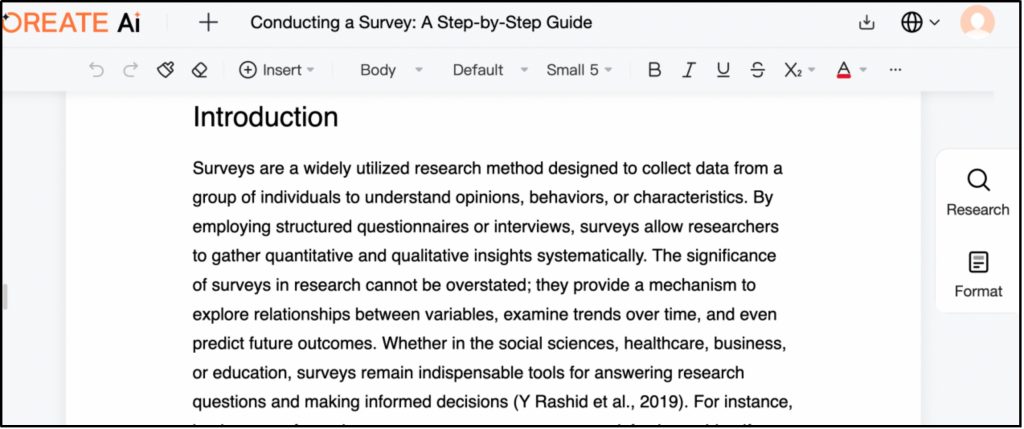
You can scroll through, read, and evaluate the essay directly in the browser.
Step 7: Refine Your Essay
You have full control to polish the final output. You can use the built-in editor to adjust wording, add your own notes, or restructure content.
If you want a helping hand, our built-in Essay Assistant is always ready to help!
While editing your essay, you will notice a small Oreate icon on the left side of the page:
- Click it to open the editing assistant

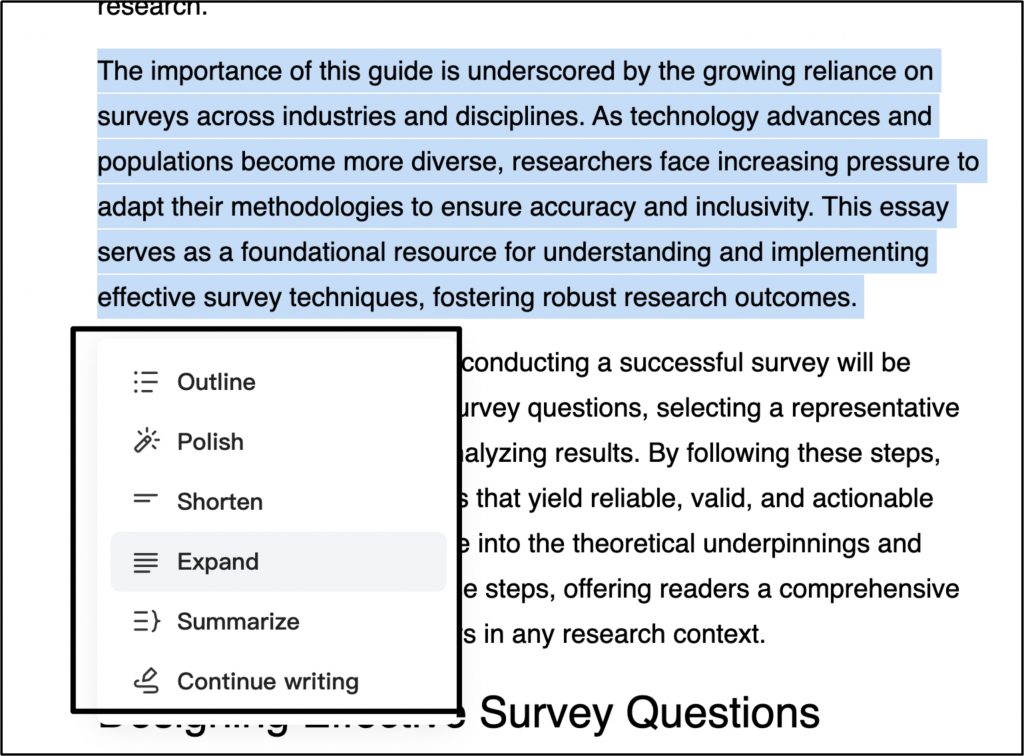
Select any section of text you want to refine. A menu will appear with the following options:
- Outline: Generate a clear outline from the input.
- Polish: Improve the language and flow.
- Shorten: Reduce the length while keeping the key points.
- Expand: Add more detail and depth to the selected section.
- Summarize: Condense the content into a brief summary.
- Continue writing: Extend the text from where it leaves off.
After selecting an option, the assistant will create a revised version of your text. You can then choose how to apply it:
- Insert below: Add the new version beneath the original.
- Replace selected: Swap the original text with the new version.
- Rewrite: Generate a different version if you are not satisfied.
- Give up: Discard the suggestion and keep the original.

You can refine any part of your essay instantly with the help of our essay assistant, making the editing process faster and more focused.
Step 8: Adjust Formatting
When you are done editing, Oreate AI provides you with multiple formatting options that can automatically format your content in just a click.
- Click Format on the right side panel.
- Select a format that fits your needs, such as an Essay Format Template or Research Proposal Format Template.
- Click Edit to customize it.
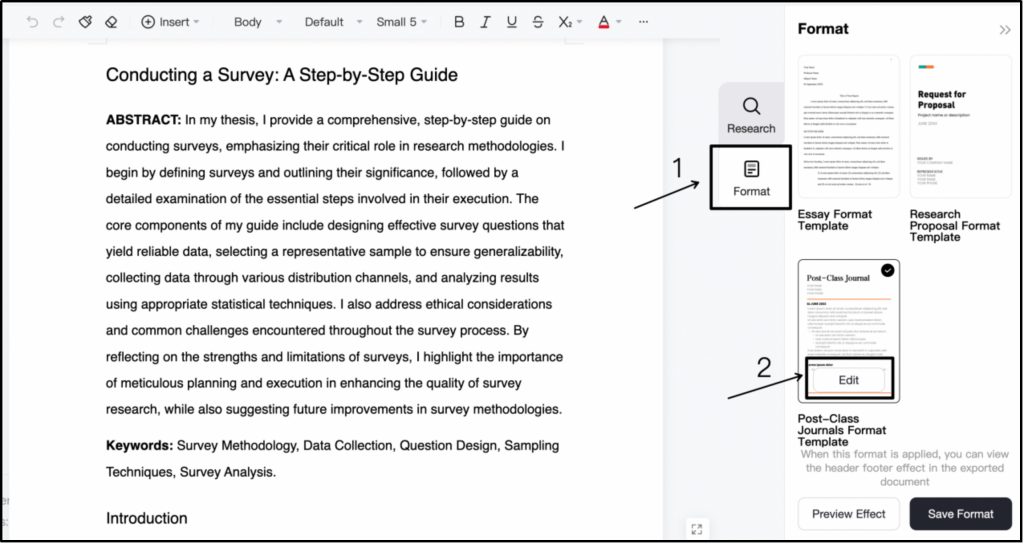
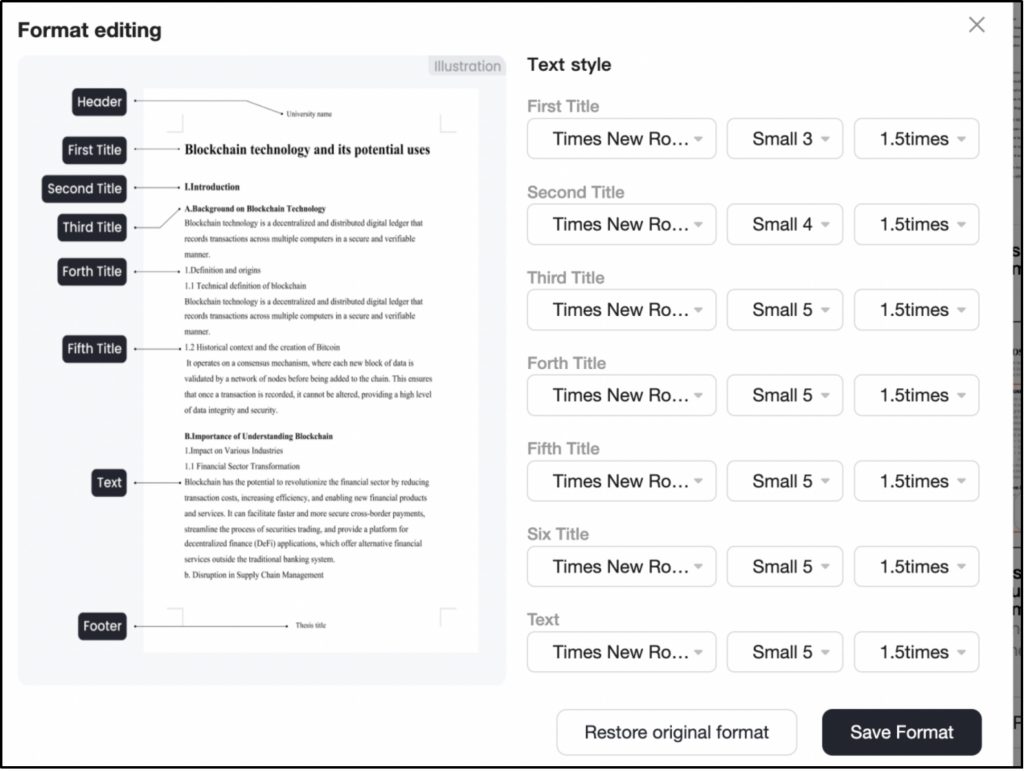
- In the Format editing window, you can adjust the font, size, and line spacing for each heading level and body text.
- Once you are satisfied with the settings, click Save Format.
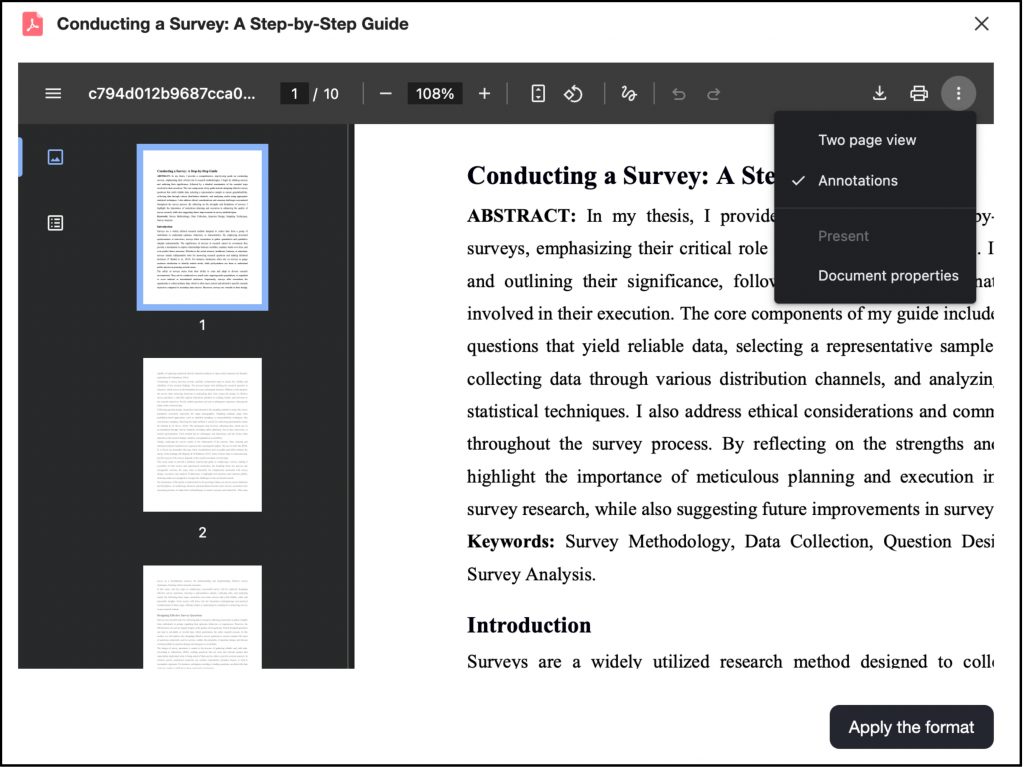
- Click Preview Effect to see how the final document will look.
- If everything looks good, click Apply the format to confirm and apply it to your essay.
Step 9: Download or Export the Essay
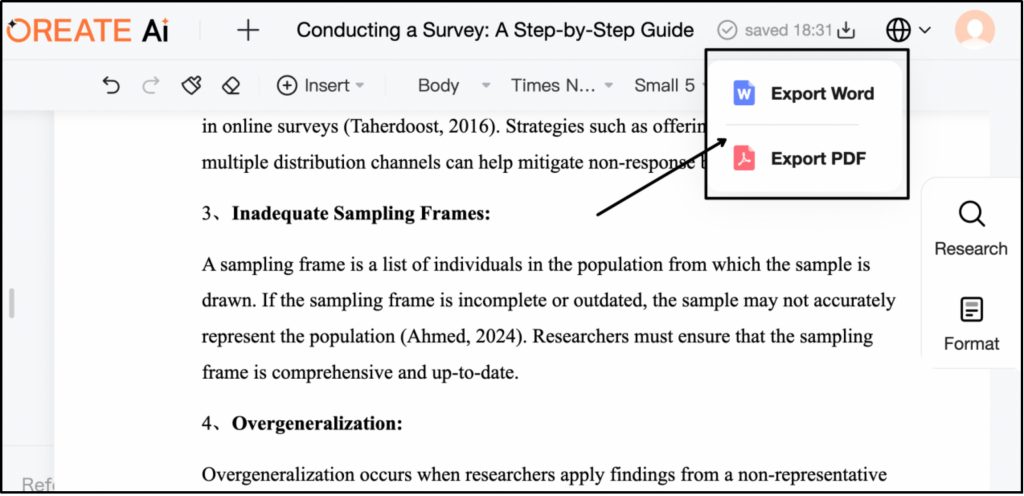
When your work is how you want it to be:
- Click the Download sign on the top right.
- Decide whether you want the file sent as .docx or .pdf.For this, you need to upgrade to the premium plan.
- Your download process begins immediately.
And that is it. From prompt to polished essay, Oreate AI handles the entire writing process in one place, no switching between tools, no manual formatting, and no wasted time on structure and layout.
Conclusion
Oreate AI Essay Writer makes essay writing easier from start to finish. It helps you brainstorm ideas, build a clear outline, improve tone, and polish your final draft, all in one place. Even if you have never used an AI tool before, getting started with Oreate is simple and intuitive. Try it for essay writing today!